Introduction
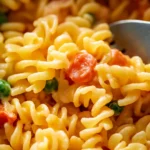
Rich, creamy, and bursting with garlic-infused goodness, this Garlic Chicken Parm Pasta is a dreamy dish that combines the heartiness of chicken Parmesan with the comfort of creamy pasta. If you’re a fan of Italian flavors, this recipe is a must-try! Imagine juicy, crispy parmesan-crusted chicken nestled on a bed of velvety, garlicky Alfredo-style pasta, all topped with melted mozzarella and a sprinkle of fresh basil. It’s an indulgent, satisfying meal that tastes like something you’d order at a fancy restaurant, but it’s easy enough to make at home on a busy weeknight.
This dish is perfect for families, date nights, or meal prepping, and it delivers a comforting, cheesy bite in every forkful. The balance between crispy chicken, creamy sauce, and perfectly cooked pasta makes it a true crowd-pleaser.
Plus, the recipe is highly adaptable! You can use different pasta shapes, tweak the sauce to your liking, or even swap out the chicken for shrimp or tofu. The garlic butter sauce paired with crispy chicken and rich cheese ensures this dish stays in your dinner rotation.

Brief Description of the Recipe
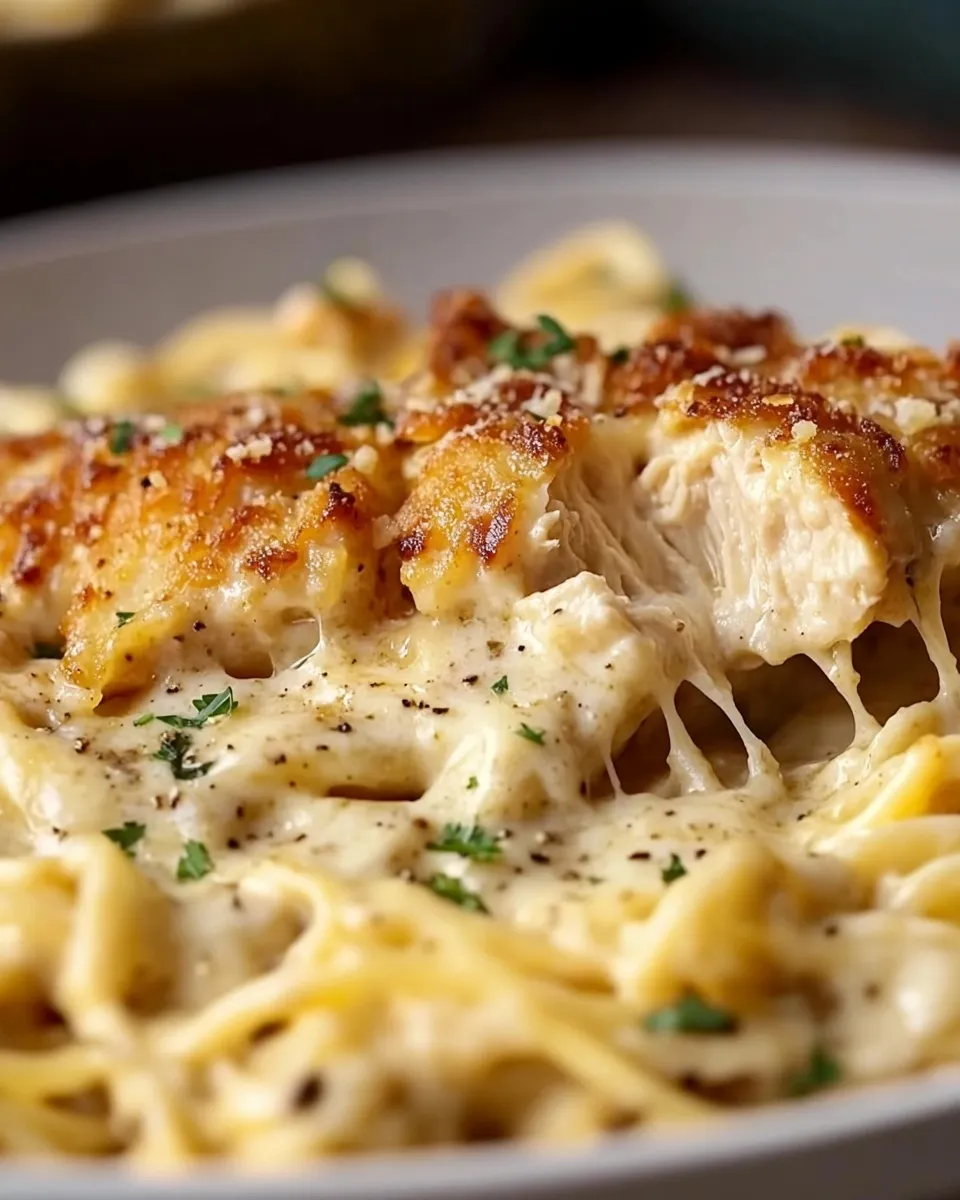
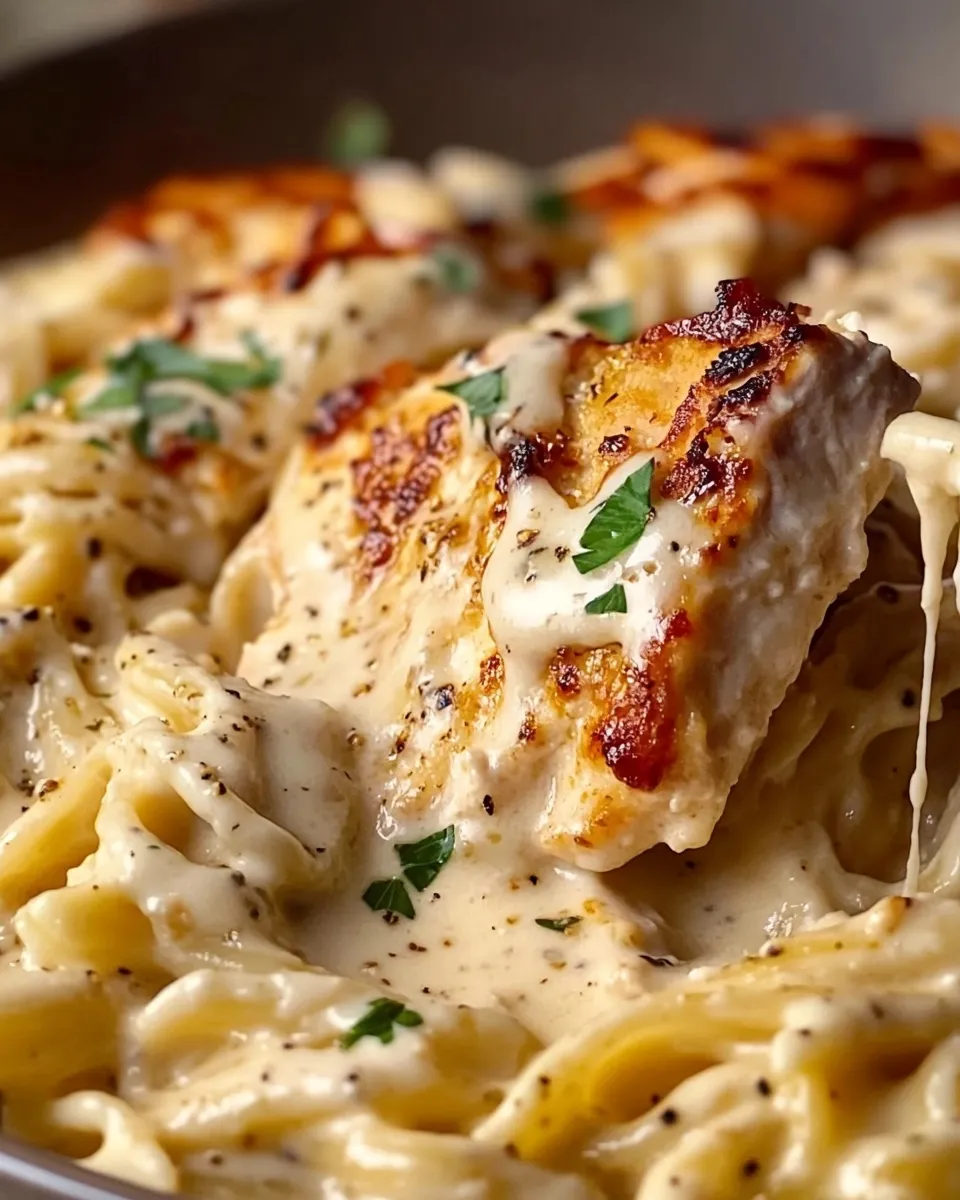
This Rich, Creamy Garlic Chicken Parm Pasta starts with juicy, golden-fried chicken breasts, coated in Parmesan and panko breadcrumbs for extra crispiness. The chicken is cooked to perfection, then sliced and placed atop a luscious, creamy garlic parmesan pasta. The sauce is a luxurious blend of butter, garlic, heavy cream, and freshly grated parmesan, creating a smooth and flavorful coating for the pasta.
For that classic Chicken Parmesan twist, the dish is finished with a generous layer of melted mozzarella cheese and marinara sauce for a hint of tanginess. Fresh basil and extra parmesan give it a restaurant-quality touch. The combination of flavors and textures—from the crispy, cheesy chicken to the silky, garlicky sauce—makes this dish pure comfort food.
Whether you’re cooking for a cozy dinner at home or impressing guests, this recipe delivers all the flavors of Chicken Parm with the richness of a creamy pasta dish. Best of all, it’s simple, fast, and incredibly satisfying!
Ease of Preparation, Versatility, or Uniqueness
- Easy to Make – Despite its gourmet appeal, this dish is beginner-friendly! The steps are straightforward, and most ingredients are pantry staples.
- Versatile – You can swap proteins, use different types of cheese, or adjust the creaminess to suit your taste.
- Crowd-Pleaser – This dish combines two favorites: Chicken Parmesan and creamy pasta. It’s bound to be a hit with both kids and adults!
- One-Pan Option – With some tweaks, you can make this a single-pan dish for easier cleanup.
- Great for Meal Prep – Make extra and enjoy leftovers that taste just as good the next day!
Why This Recipe is a Winner
This Garlic Chicken Parm Pasta is a perfect balance of crispy, cheesy, creamy, and savory flavors. Unlike traditional Chicken Parmesan, which is typically served with marinara over spaghetti, this version incorporates a rich, creamy sauce that takes the dish to another level.
The crispy, golden chicken paired with smooth, garlicky Alfredo-style pasta creates an irresistible contrast. The use of freshly grated parmesan and real cream ensures that the sauce is luxuriously smooth and far better than anything store-bought.
Additionally, the layer of mozzarella and marinara brings the familiar flavors of Chicken Parmesan while keeping the dish unique and indulgent. Whether you’re feeding a family or cooking for a special occasion, this recipe is a guaranteed hit!
Personal Anecdote or Connection to the Recipe
The first time I made this Garlic Chicken Parm Pasta, I was craving both a creamy Alfredo dish and a crispy Chicken Parmesan. Instead of choosing between the two, I decided to combine them—and the result was absolutely incredible. My family was instantly hooked, and now it’s one of our go-to comfort meals.
One of the best parts about this recipe is how easily it can be customized. Over time, I’ve experimented with different variations, like adding sun-dried tomatoes for a tangy twist or tossing in spinach for extra greens. No matter how you tweak it, this dish always turns out delicious!
Ingredients
For the Chicken Parmesan:
- 2 large boneless, skinless chicken breasts
- 1 cup all-purpose flour
- 2 eggs, beaten
- 1 cup panko breadcrumbs
- ½ cup grated Parmesan cheese
- 1 tsp garlic powder
- ½ tsp Italian seasoning
- ½ tsp salt
- ½ tsp black pepper
- 1 cup marinara sauce
- 1 cup shredded mozzarella cheese
- ¼ cup olive oil (for frying)
For the Creamy Garlic Parmesan Pasta:
- 12 oz fettuccine or penne pasta
- 3 tbsp butter
- 4 cloves garlic, minced
- 1 ½ cups heavy cream
- 1 cup grated Parmesan cheese
- ½ tsp salt
- ½ tsp black pepper
- ½ tsp red pepper flakes (optional)
- ¼ cup chopped fresh parsley or basil (for garnish)
Optional: Variations or Substitutions
- Protein Swap: Use shrimp, tofu, or even breaded eggplant instead of chicken.
- Cheese Alternatives: Try provolone or gouda for a different cheesy twist.
- Lighter Version: Substitute half-and-half for heavy cream and bake the chicken instead of frying.
- Extra Veggies: Stir in spinach, sun-dried tomatoes, or mushrooms for added flavor.

Preparation Tips
How to Make the Recipe
Step 1: Prepare the Chicken Parmesan
- Pound the Chicken – Flatten the chicken breasts to about ½-inch thickness for even cooking.
- Dredge the Chicken – Coat each chicken breast in flour, dip in beaten eggs, then cover with a mixture of panko, parmesan, and seasonings.
- Fry Until Golden – Heat olive oil in a pan and cook the chicken until crispy and golden brown (about 4 minutes per side).
- Top with Marinara & Cheese – Spoon marinara sauce over the cooked chicken, sprinkle with mozzarella, and broil until the cheese melts.
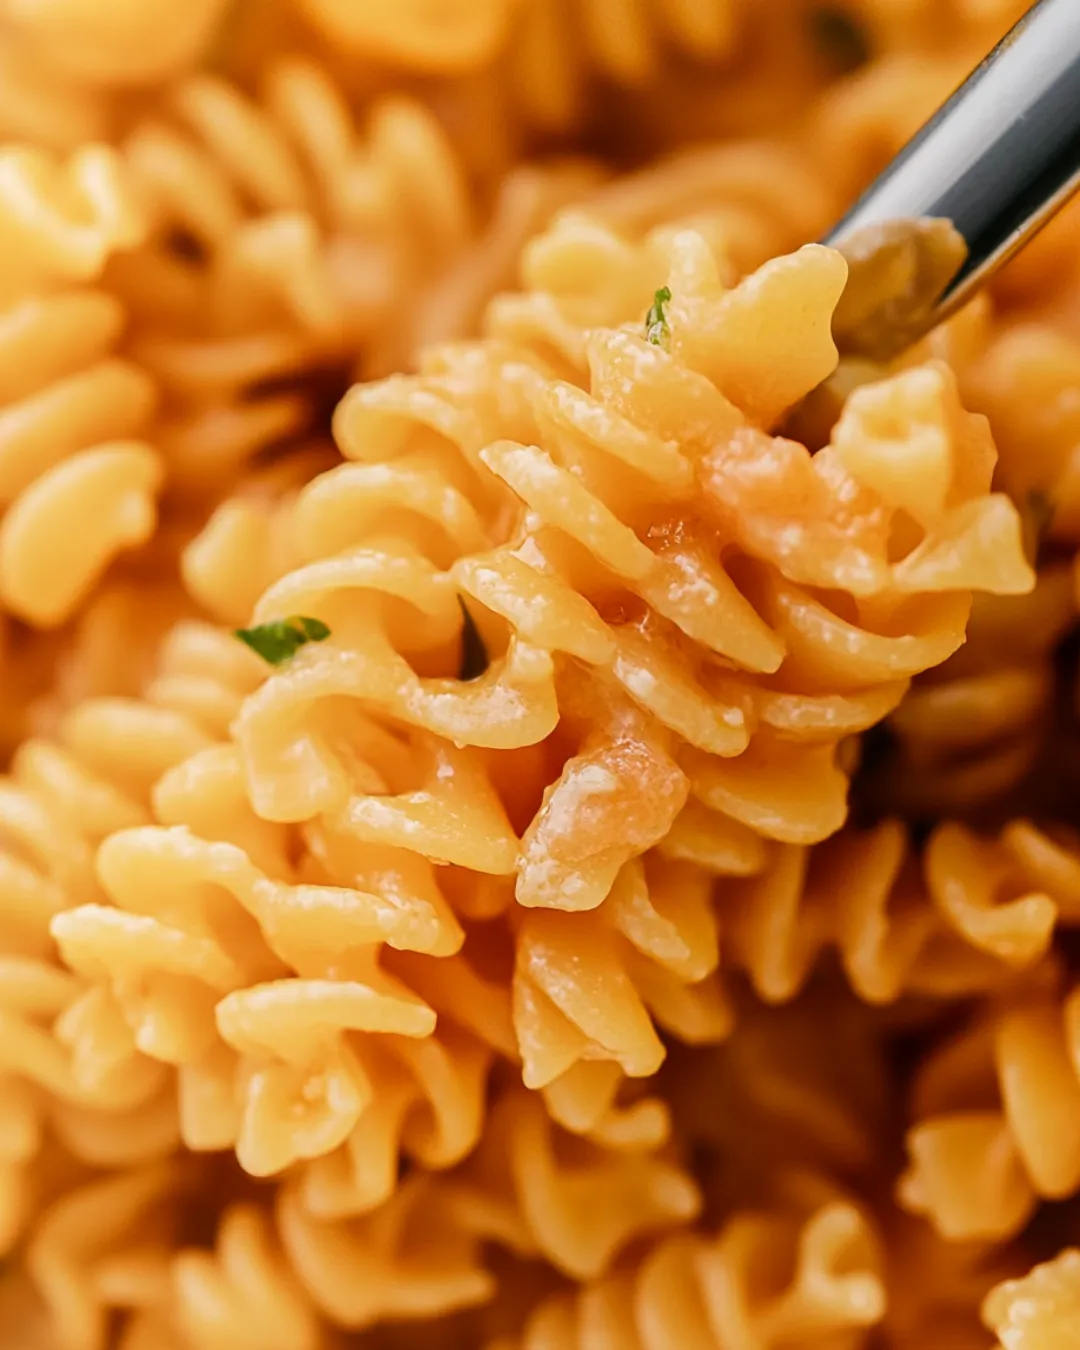
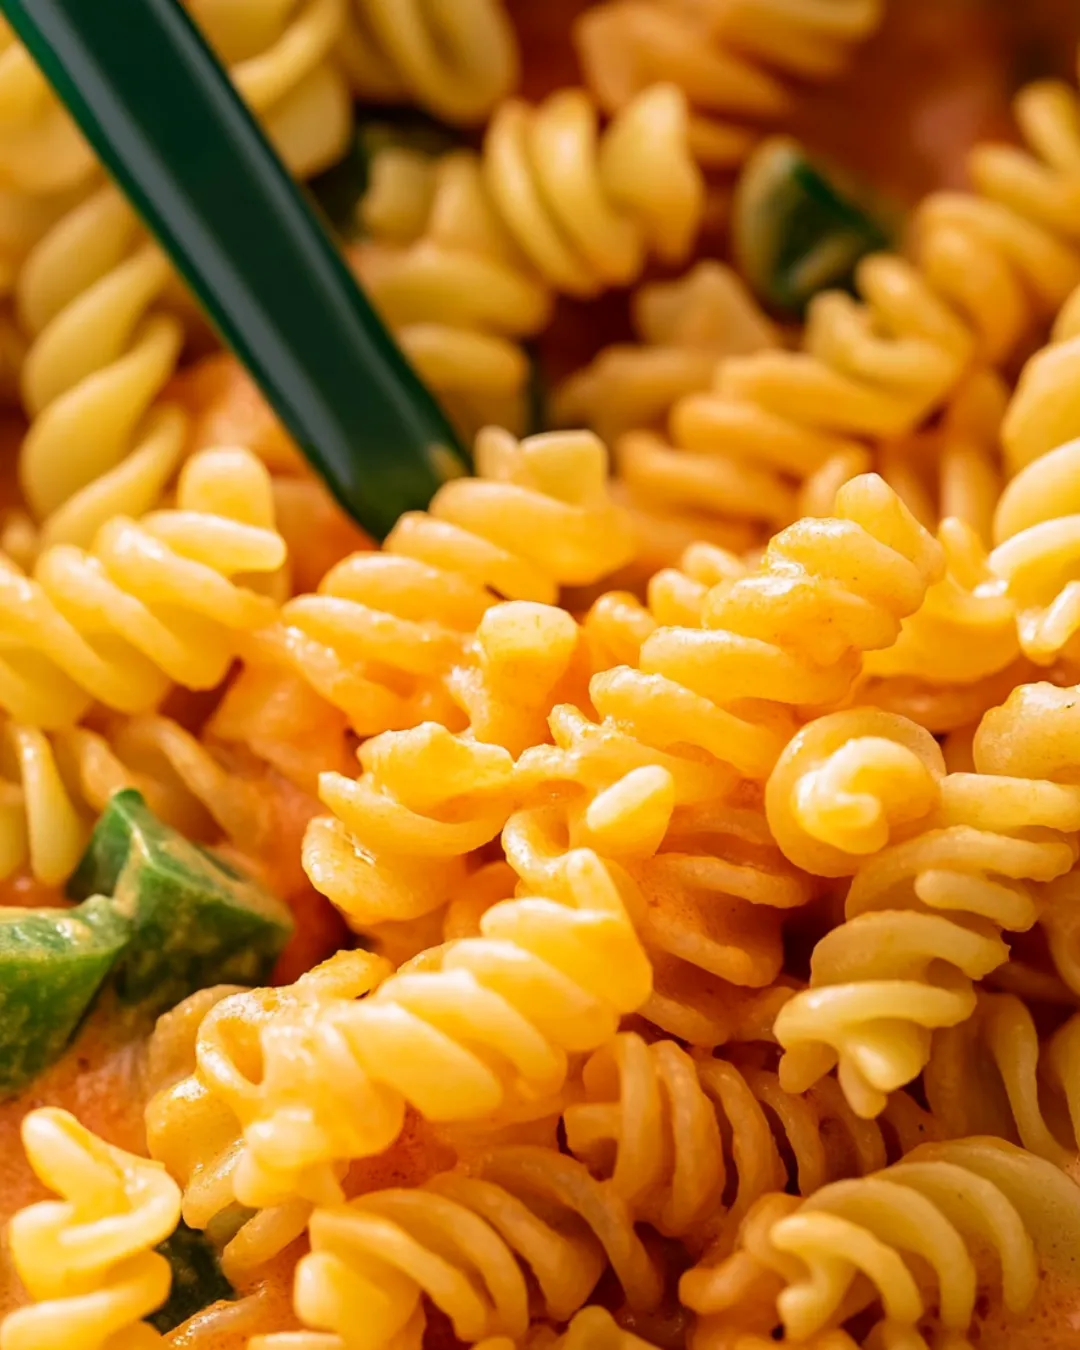
Step 2: Make the Creamy Garlic Parmesan Pasta
- Cook the Pasta – Boil according to package instructions, then drain.
- Make the Sauce – Melt butter in a pan, sauté garlic, then pour in heavy cream and parmesan. Stir until smooth.
- Combine Everything – Toss the cooked pasta in the sauce until coated.
Step 3: Assemble & Serve
- Slice the crispy chicken and place it over the creamy pasta.
- Garnish with fresh basil or parsley.
- Serve hot and enjoy!
Highlight Key Techniques for Best Results
- Use freshly grated Parmesan for a smooth, lump-free sauce.
- Don’t overcook the pasta—it should be al dente to hold up in the sauce.
- Pound the chicken evenly for consistent frying and juiciness.
- Let the chicken rest before slicing to keep it juicy.
Serving Suggestions
- Serve with a side of garlic bread or a crisp Caesar salad.
- Pair with a glass of white wine like Chardonnay.
- Add a sprinkle of extra Parmesan and red pepper flakes for extra flavor.
Helpful Tips
- Use Fresh Ingredients – Fresh garlic, parmesan, and basil enhance the flavor significantly. Pre-grated cheese can have anti-caking agents that affect texture.
- Properly Bread the Chicken – Press the breadcrumbs firmly onto the chicken for the best crispy texture. A double coating can make it even crunchier.
- Don’t Overcrowd the Pan – Fry chicken in batches to ensure an even golden crust. Overcrowding can make it soggy.
- Let the Chicken Rest – Allow it to sit for a few minutes after cooking to keep the juices locked in.
- Cook Pasta Al Dente – Slightly undercook the pasta before adding it to the sauce. It will continue to absorb flavors without becoming mushy.
- Control the Sauce Thickness – If the sauce is too thick, add a splash of pasta water to loosen it. If it’s too thin, let it simmer for a minute longer.
- Broil for Perfect Cheese Melting – Instead of just letting mozzarella melt on the pan, a quick broil in the oven gives it a gooey, slightly golden top.
- Add a Hint of Spice – A pinch of red pepper flakes enhances the garlic and cheese flavors beautifully.
- Use High-Quality Pasta – Premium brands hold sauce better and make a noticeable difference.
- Meal Prep Tip – Store the chicken separately from the pasta to maintain crispiness when reheating.
Substitutions and Variations
1. Protein Swaps
- Shrimp Parmesan Pasta – Swap chicken for shrimp, coat lightly in breadcrumbs, and sauté instead of frying.
- Tofu Parmesan Pasta – Use firm tofu slices, press out moisture, then bread and bake for a vegetarian alternative.
- Eggplant Parmesan Pasta – Classic twist using crispy eggplant slices for a meatless version.
2. Cheese Variations
- Different Melty Cheeses – Try provolone, gouda, or even pepper jack for a unique flavor.
- Stronger Cheese Flavor – Add a touch of pecorino romano for a sharper, nuttier taste.
3. Healthier & Lighter Alternatives
- Bake Instead of Frying – Bread the chicken and bake at 400°F for 20 minutes instead of frying for a lower-calorie option.
- Use Half-and-Half Instead of Heavy Cream – Makes the sauce lighter while keeping it creamy.
- Whole Wheat or Gluten-Free Pasta – Substitute traditional pasta with whole wheat or gluten-free varieties for dietary needs.
- Greek Yogurt Instead of Cream – Adds protein and creaminess with fewer calories.

4. Extra Add-ins
- Sun-Dried Tomatoes – Add for a tangy, slightly sweet contrast.
- Spinach or Kale – Stir into the pasta for a nutritional boost.
- Mushrooms – Sautéed mushrooms pair well with the creamy garlic sauce.
- Crispy Bacon or Pancetta – A smoky, salty touch that enhances flavor.
5. Spice & Flavor Enhancements
- Add Cajun Seasoning – Turns this into a spicy, bold variation.
- Garlic Lovers’ Version – Double the garlic for an even more intense, aromatic experience.
- Lemon Zest & Juice – A bit of citrus at the end brightens up the creamy sauce.
6. Make it a One-Pan Dish
- Cook the chicken first, then remove it from the pan. Prepare the pasta and sauce in the same skillet to save on dishes.
Frequently Asked Questions
1. Can I make this ahead of time?
Yes! Cook the chicken and pasta separately, then store them in airtight containers. When reheating, warm the sauce with a splash of milk to maintain creaminess.
2. What pasta works best?
Fettuccine, penne, and rigatoni work well because they hold onto the creamy sauce better.
3. How do I make the sauce less heavy?
Use half-and-half instead of heavy cream or mix in some chicken broth for a lighter version.
4. Can I use rotisserie chicken instead?
Absolutely! Shred or chop cooked rotisserie chicken and add it directly to the pasta to save time.
5. What’s the best way to reheat leftovers?
Reheat pasta on the stove over low heat with a splash of milk or cream to loosen the sauce. The chicken can be crisped up in an air fryer or oven at 350°F for 5 minutes.
6. Can I freeze this dish?
The sauce and pasta can be frozen separately, but fried chicken may lose its crispiness. It’s best enjoyed fresh.
7. How can I make this spicy?
Add red pepper flakes to the sauce or mix in a dash of cayenne pepper.
8. Is there a dairy-free version?
Use coconut milk or cashew cream instead of heavy cream and dairy-free cheese for a lactose-free alternative.
9. Can I use jarred Alfredo sauce instead?
Yes, but homemade sauce tastes much better. If using jarred sauce, enhance it with fresh garlic and extra parmesan.
10. How do I keep the chicken crispy?
Avoid placing hot chicken directly on the pasta. Serve them separately and combine only when eating to maintain crispiness.
Ideas for Repurposing Leftovers
- Garlic Chicken Parm Panini – Slice the chicken, place it on toasted bread with extra sauce and mozzarella, and grill for a crispy sandwich.
- Baked Pasta Casserole – Mix leftover pasta with extra marinara, place in a baking dish, top with cheese, and bake at 375°F for 15 minutes.
- Creamy Chicken Parm Pizza – Use leftover chicken on a pizza crust with garlic sauce, mozzarella, and parmesan.
- Chicken Parm Stuffed Peppers – Dice leftover chicken, mix with pasta and sauce, stuff into bell peppers, and bake.
- Garlic Chicken Parm Wrap – Wrap chopped chicken and pasta in a tortilla for an easy on-the-go meal.
Similar or Complementary Recipes
- Classic Chicken Parmesan – A traditional crispy chicken parm with marinara and spaghetti.
- Creamy Tuscan Chicken Pasta – A similar rich and creamy pasta with sun-dried tomatoes and spinach.
- Garlic Butter Shrimp Pasta – A seafood twist on creamy pasta dishes.
- Baked Ziti with Parmesan Chicken – Another baked pasta dish with crispy chicken layers.
- Homemade Alfredo Sauce Recipe – Learn how to make the best creamy sauce from scratch.
Related Recipes
If you loved this Garlic Chicken Parm Pasta, check out these similar and complementary recipes from BakeSync:
- One-Pot Pasta with Creamy Tomato Sauce – A rich and creamy tomato-based pasta dish that’s easy to make in one pot.
- Stovetop Chicken and Rice – Easy One-Pot Recipe – Another comforting, protein-packed dish perfect for busy nights.
- Instant Pot Chicken and Rice – Easy One-Pot Dinner – A quick and convenient way to cook a hearty meal.
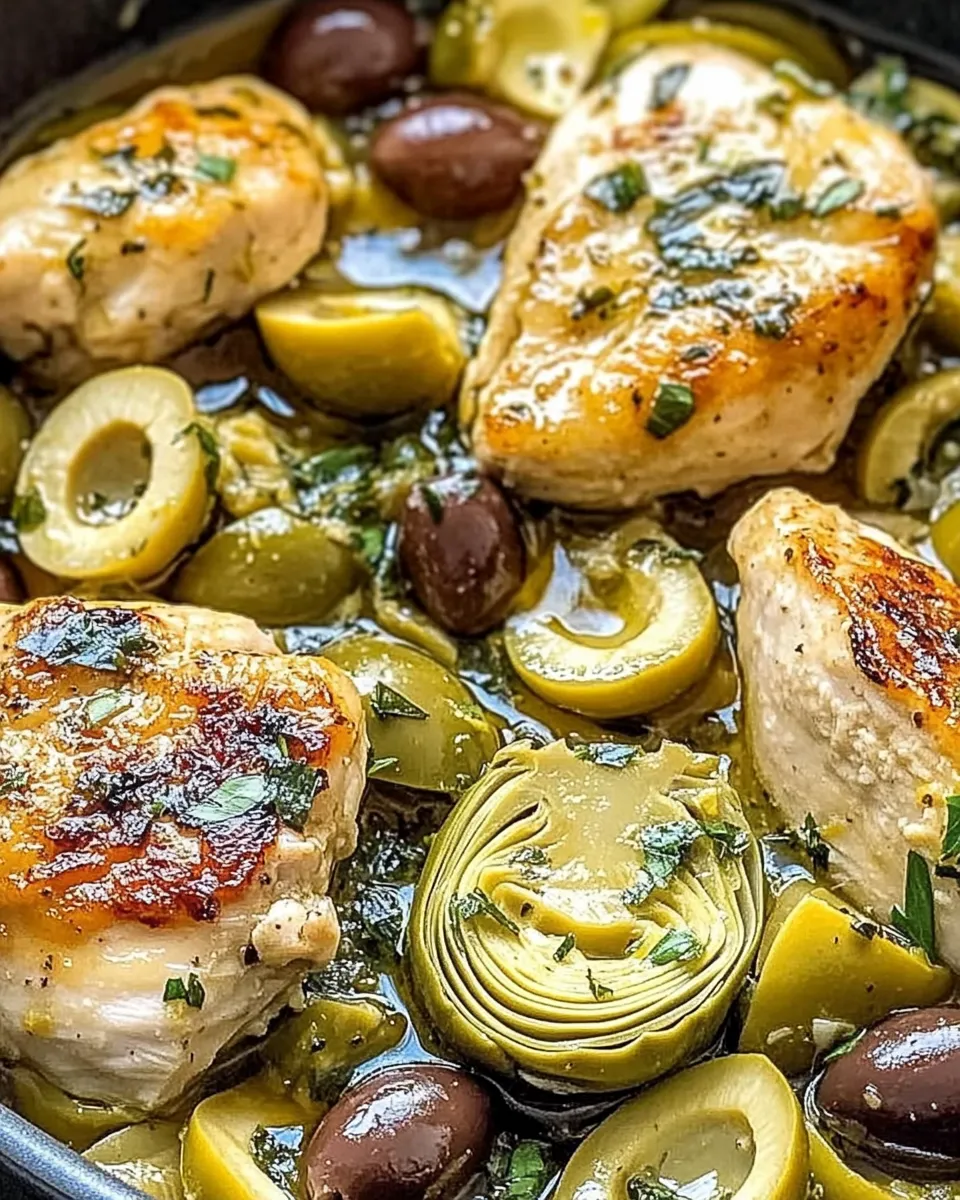
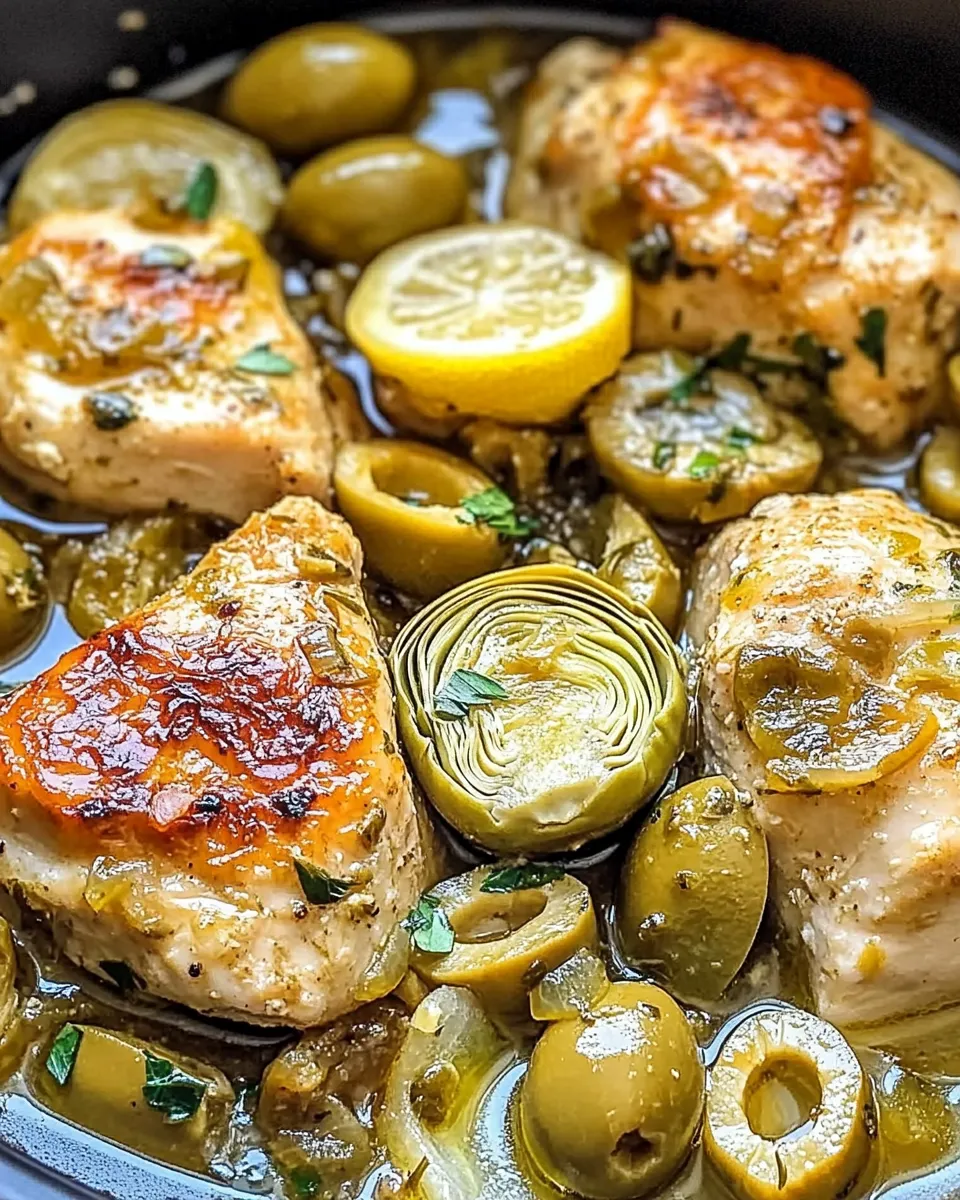
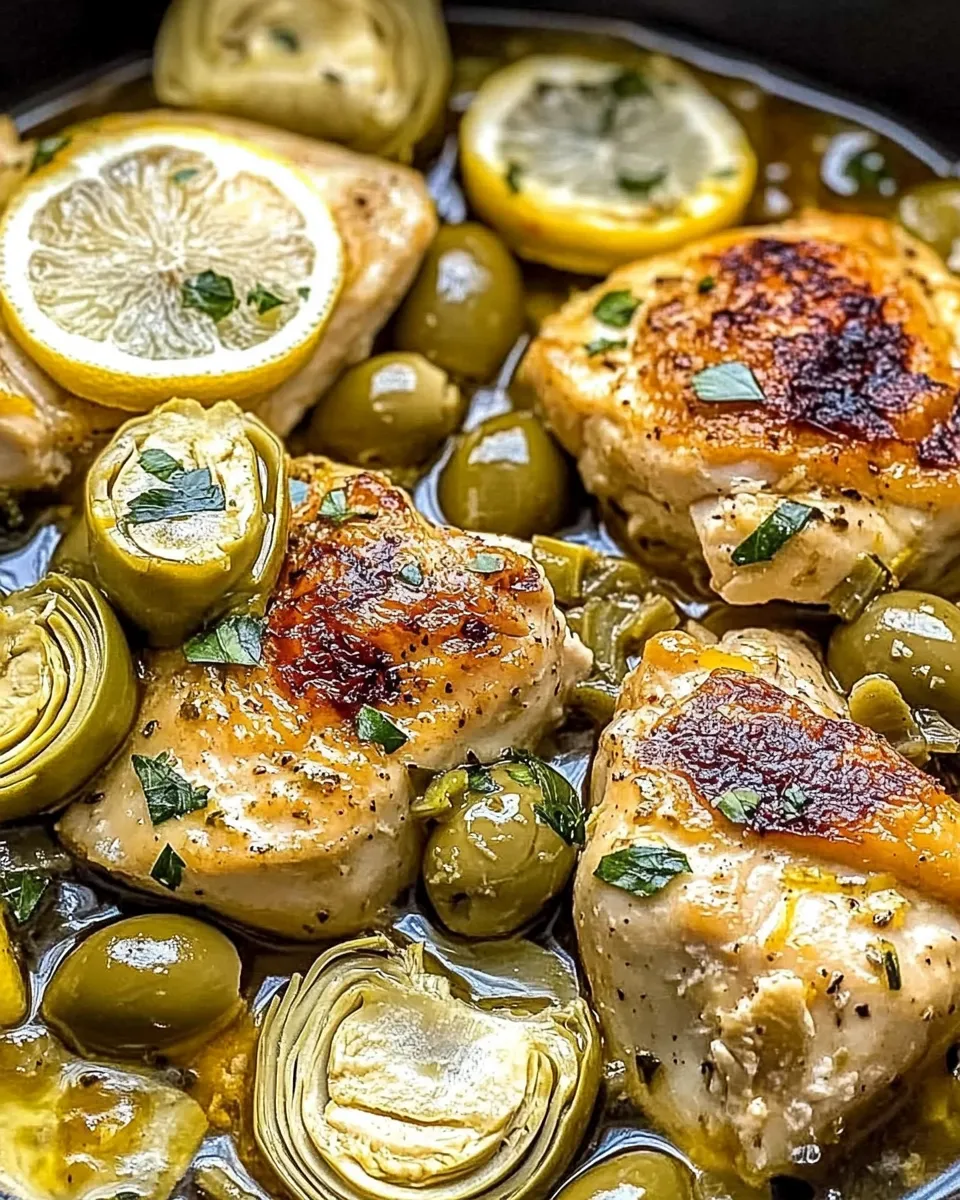
- Mediterranean Lemon Chicken with Artichokes & Olives – A lighter, zesty chicken recipe with bold flavors.
- Spinach Artichoke Meatballs – Easy & Cheesy – A cheesy, savory appetizer that pairs well with pasta dishes.
- Creamy Mushroom Beef Stroganoff – Another creamy, comfort-food pasta dish with rich umami flavors.
Rich, Creamy Garlic Chicken Parm Pasta – Easy & Delicious!
This Rich, Creamy Garlic Chicken Parm Pasta starts with juicy, golden-fried chicken breasts, coated in Parmesan and panko breadcrumbs for extra crispiness. The chicken is cooked to perfection, then sliced and placed atop a luscious, creamy garlic parmesan pasta. The sauce is a luxurious blend of butter, garlic, heavy cream, and freshly grated parmesan, creating a smooth and flavorful coating for the pasta.
Ingredients
Ingredients
For the Chicken Parmesan:
- 2 large boneless, skinless chicken breasts
- 1 cup all-purpose flour
- 2 eggs, beaten
- 1 cup panko breadcrumbs
- ½ cup grated Parmesan cheese
- 1 tsp garlic powder
- ½ tsp Italian seasoning
- ½ tsp salt
- ½ tsp black pepper
- 1 cup marinara sauce
- 1 cup shredded mozzarella cheese
- ¼ cup olive oil (for frying)
For the Creamy Garlic Parmesan Pasta:
- 12 oz fettuccine or penne pasta
- 3 tbsp butter
- 4 cloves garlic, minced
- 1 ½ cups heavy cream
- 1 cup grated Parmesan cheese
- ½ tsp salt
- ½ tsp black pepper
- ½ tsp red pepper flakes (optional)
- ¼ cup chopped fresh parsley or basil (for garnish)
Instructions
Preparation Tips
How to Make the Recipe
Step 1: Prepare the Chicken Parmesan
- Pound the Chicken – Flatten the chicken breasts to about ½-inch thickness for even cooking.
- Dredge the Chicken – Coat each chicken breast in flour, dip in beaten eggs, then cover with a mixture of panko, parmesan, and seasonings.
- Fry Until Golden – Heat olive oil in a pan and cook the chicken until crispy and golden brown (about 4 minutes per side).
- Top with Marinara & Cheese – Spoon marinara sauce over the cooked chicken, sprinkle with mozzarella, and broil until the cheese melts.
Step 2: Make the Creamy Garlic Parmesan Pasta
- Cook the Pasta – Boil according to package instructions, then drain.
- Make the Sauce – Melt butter in a pan, sauté garlic, then pour in heavy cream and parmesan. Stir until smooth.
- Combine Everything – Toss the cooked pasta in the sauce until coated.
Step 3: Assemble & Serve
- Slice the crispy chicken and place it over the creamy pasta.
- Garnish with fresh basil or parsley.
- Serve hot and enjoy!
Notes
Notes
- Prep Time: 15 minutes
- Cook Time: 30 minutes
- Total Time: 45 minutes
- Yield: 4 servings
- Category: Dinner
- Method: Stovetop & Baking
- Cuisine: Italian-American
- Diet: Non-Vegetarian
- Keywords: Garlic Chicken Parm Pasta, creamy chicken pasta, Chicken Alfredo, Parmesan Chicken
Nutrition (Per Serving)
- Calories: ~780
- Sugar: 4g
- Sodium: 900mg
- Fat: 40g
- Saturated Fat: 20g
- Unsaturated Fat: 15g
- Trans Fat: 0g
- Carbohydrates: 65g
- Fiber: 3g
- Protein: 45g
- Cholesterol: 150mg